Vietnamese Yogurt
Hey everyone, I hope you are having an incredible day today. Today, I'm gonna show you how to prepare a distinctive dish, Vietnamese Yogurt. It is one of my favorites. This time, I will make it a little bit tasty. This is gonna smell and look delicious.
Vietnamese Yogurt is one of the most well liked of recent trending foods in the world. It's enjoyed by millions every day. It's easy, it is quick, it tastes yummy. They're nice and they look wonderful. Vietnamese Yogurt is something that I have loved my entire life.
Many things affect the quality of taste from Vietnamese Yogurt, starting from the type of ingredients, then the selection of fresh ingredients, the ability to cut dishes to how to make and serve them. Don't worry if you want to prepare Vietnamese Yogurt delicious at home, because if you already know the trick then this dish can be used as an extraordinary special treat.
As for the number of servings that can be served to make Vietnamese Yogurt is 12 servings. So make sure this portion is enough to serve for yourself and your beloved family.
Just in addition, the time it takes to cook Vietnamese Yogurt estimated approx 24 hours.
To begin with this particular recipe, we have to first prepare a few components. You can have Vietnamese Yogurt using 6 ingredients and 14 steps. Here is how you cook that.
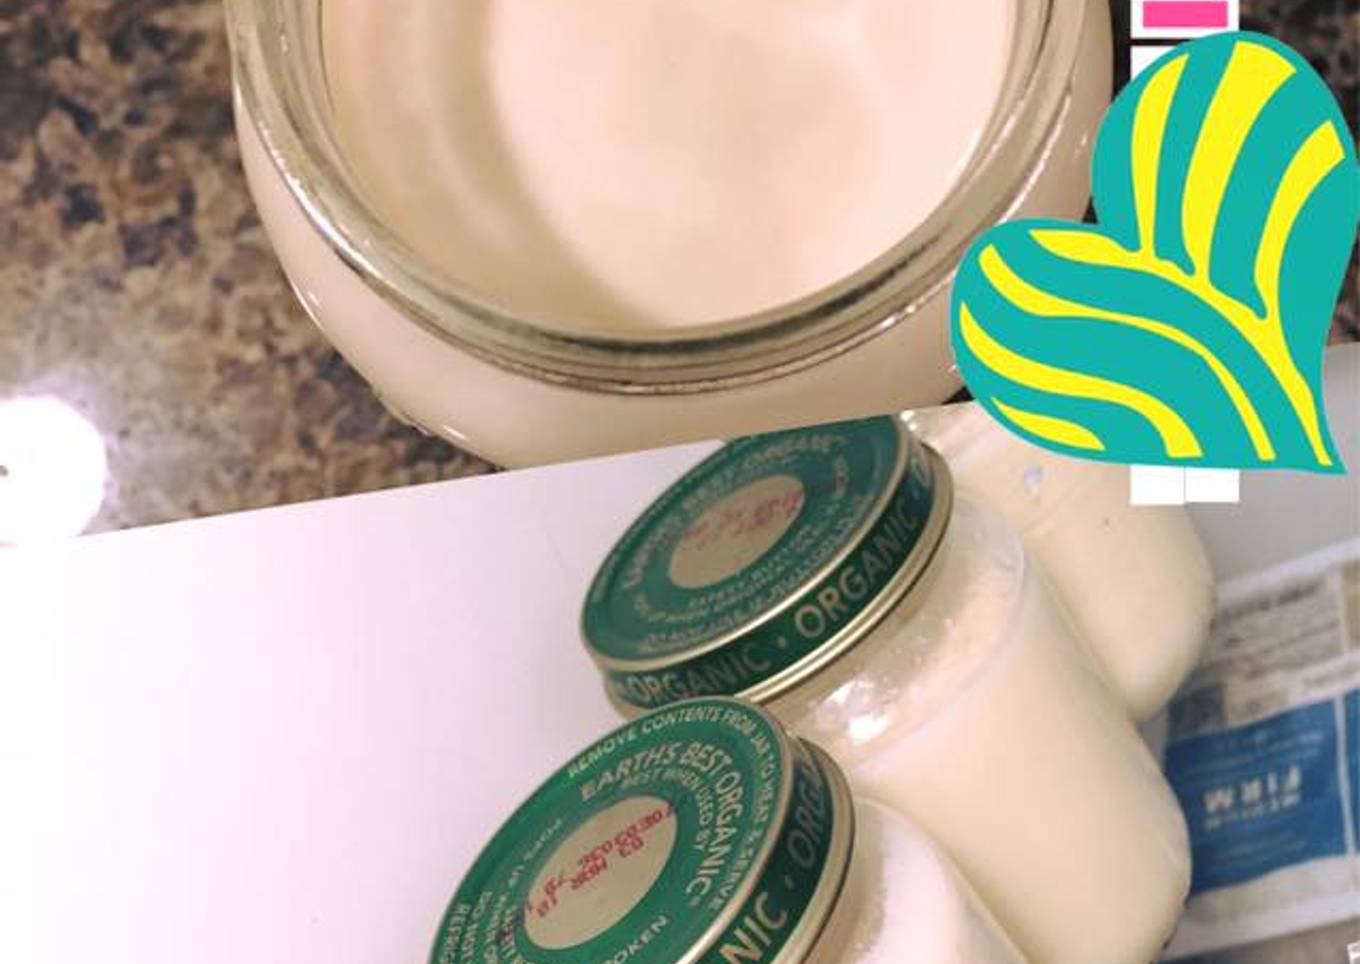
Yogurt has always been my favorite food since little. I've been trying to make some for so long and never succeeded. After several times trying and failing, I finally came to the right way of making it and got it to work. Now, my husband and three little ones get to enjoy fresh, home-made yogurt everyday :-) Enjoy and good luck!
Ingredients and spices that need to be Take to make Vietnamese Yogurt:
- 1 Nestle Sweetened Condensed Milk (14oz)
- Boiled water
- Whole Milk
- No Flavored Greek Yogurt
- Baby food jars or yogurt jars
- Big pots
Steps to make to make Vietnamese Yogurt
- Empty the whole jar of condensed milk into a big bowl • Use the empty condensed milk jar as your measurement tool for the rest of the ingredients
- Pour two full jars of boiled water into the condensed milk in the bowl.
- Stir consistently to ensure everything is dissolved completely.
- Then, pour two full jars of whole milk into the mixture.
- Continue to stir consistently until everything is dissolved completely. Take your time in this step because you want to make sure the temperature of the mixture to cool down a bit to become luke warm before the next step.
- After that, put in one full jar (same jar using as measurement above) of Greek yogurt into the mixture and keep stirring until no more yogurt chunk floating in the bowl. You can check it by looking at the mixture and see that it become silky instead of watery.
- Once everything is done, pour the mixture into each baby food jar or yogurt jar by using a ladle to avoid spilling. Keep doing it until all mixture is used up.
- Place the baby food jars or yogurt jars on the bottom of the big pot. You can use two or more pots if one is not enough.
- Place an empty pot filled with water on the stove and start heating it with high heat. Pay careful attention to this pot because you don't want it to be extremely boiled. • When you start seeing the water become bubbly on the bottom of the pot, use a big ladle and start pouring this water into the pots that have your yogurt jars.
- You can pour it up to 2/3 of the jar so that the water won't get into our yogurt. • Please be very careful with this step so that no water get poured into our yogurt jar as it will ruined the cultures
- Finally, place a towel on top of your pot and place it in your oven. Do not turn the oven on. We just need to place it there to ensure the water stay warm for a long time. You can also turn the oven light on as the heat from the light is also helping with the temperature.
- If your pot is too big and won't fit in the oven, no worries. You can just place it in one corner of your counter where it won't be disturbed.
- Leave the yogurt like that for at least 12 hours. Then, take them out of the pot and place them on a towel to make sure all the outside water got dried off. Then, continue to leave it outside for another 12 hours. Then, put the cap on and place them in the refrigerator.
- You can start enjoying the yogurt after couple hours.
As your experience as well as self-confidence expands, you will certainly discover that you have a lot more natural control over your diet plan and adapt your diet to your personal preferences gradually. Whether you want to serve a dish that uses fewer or more active ingredients or is a bit essentially spicy, you can make easy changes to attain this goal. In other words, start making your dishes on time. As for fundamental cooking skills for novices you do not require to learn them however just if you master some basic food preparation methods.
This isn't a total guide to quick as well as easy lunch recipes yet its excellent something to chew on. Hopefully this will get your imaginative juices streaming so you can prepare delicious meals for your household without doing too many square meals on your trip.
So that's going to wrap it up with this exceptional food Recipe of Perfect Vietnamese Yogurt. Thanks so much for reading. I am sure you will make this at home. There's gonna be interesting food at home recipes coming up. Don't forget to bookmark this page on your browser, and share it to your loved ones, colleague and friends. Thanks again for reading. Go on get cooking!


Comments
Post a Comment